You are here

saloompt

Warning - information presented here is contributed by users and has not been verified or evaluated for accuracy or safety. Use caution and proceed at your own risk!
KML placeholder

Goat Circuit (4 Mile ridge to Goat ridge via Goat peak)

An alpine ridge linkup including Goat/Latin peak, starting and ending at Saloompt Bluffs trailhead. Can be done as a multi-day, enjoying many exquisite campsites and side-trips, or a single long day. Trails are cut and flagged through the timber to gain each ridge, and mostly easy travel along the granite ridges in between. Lots of tarns along the ridges, yet no running water on the entirety of 4 Mile ridge (between Enso pool and the green meadows in the 4 Mile/Goat saddle). Plentiful seeps on both sides of Goat peak.

Start up either 4 Mile ridge (https://bellacoolatrails.ca/content/4-mile-ridge-saloompt-bluffs) or Goat Ridge (https://bellacoolatrails.ca/content/goat-ridge-saloompt-bluffs) and finish down the other.

~32km distance
~2600m total elevation gain

A wild walk in the sky!

Tips Hotline

A three pitch all-gear route up the left edge of the broken-glass wall. 2nd pitch is a 65m tips-layback endurance challenge; clean rock, lots of pro, spicy cruxes and good rests. Bring 70m rope, and an extra 60m to get down. Bolted rap stations. Many small cams required (esp. Metolius #0 and #1 range).

Pitch 1 - 5.9 layback flake (an existing route, name unknown). A gem of a pitch, and a fun treat to start the day. Clambour up a blocky corner to the base of a left trending flake; layback the flake to the tree island, then continue through the brush to the Pitch 2 anchors at the bottom of the next wall. Gear to 3".
Pitch 2 - 5.11 (?) tips layback. Follow the steepening corner crack for ~15m until it branches right into a thin crack feature splitting the blank headwall. Overcome the steep crux to a good rest, then continue through another 30-40m of tips laybacking. A physically and mentally demanding pitch. Bring many small cams and some nuts.
Pitch 3 - 5.10+ layback funkjam. Climb steeply through overlapping flakes to the top of a small pedestal and an old stunted pine tree. Mantle up into the groove above, and continue up a mix of flakes and cracks to easier ground. Enjoy the final face moves to gain the upper slab and anchors.

4 Mile Ridge via Saloompt Bluffs

An elegant and efficient route linking Saloompt Bluffs with the incredible alpine ridge of 4 Mile Mountain, via the Mills Creek basin. The trail is well marked and cut, with many points of interest along the way.

Follow the upper Saloompt Bluffs trail to the lookout, then continue West along the same timber bench, climbing through a short and memorable 'rock tunnel' feature to gain a connecting timber bench with excellent views of the Bella Coola Valley and Mills Creek basin. Continue along the bench past a couple seasonal creeks all the way to a beautiful pool and fjord at Mills Creek. Cross the creek and continue through open timber to gain the East shoulder of 4 Mile; follow the timbered ridge upwards to the base of a short headwall; traverse below the headwall to gain a steep timbered ravine directly left of the wall. Climb up the ravine feature into the bluffy alpine of 4 Mile Ridge. Continue as desired West along the ridge, past many views and interesting features.

Silk Road

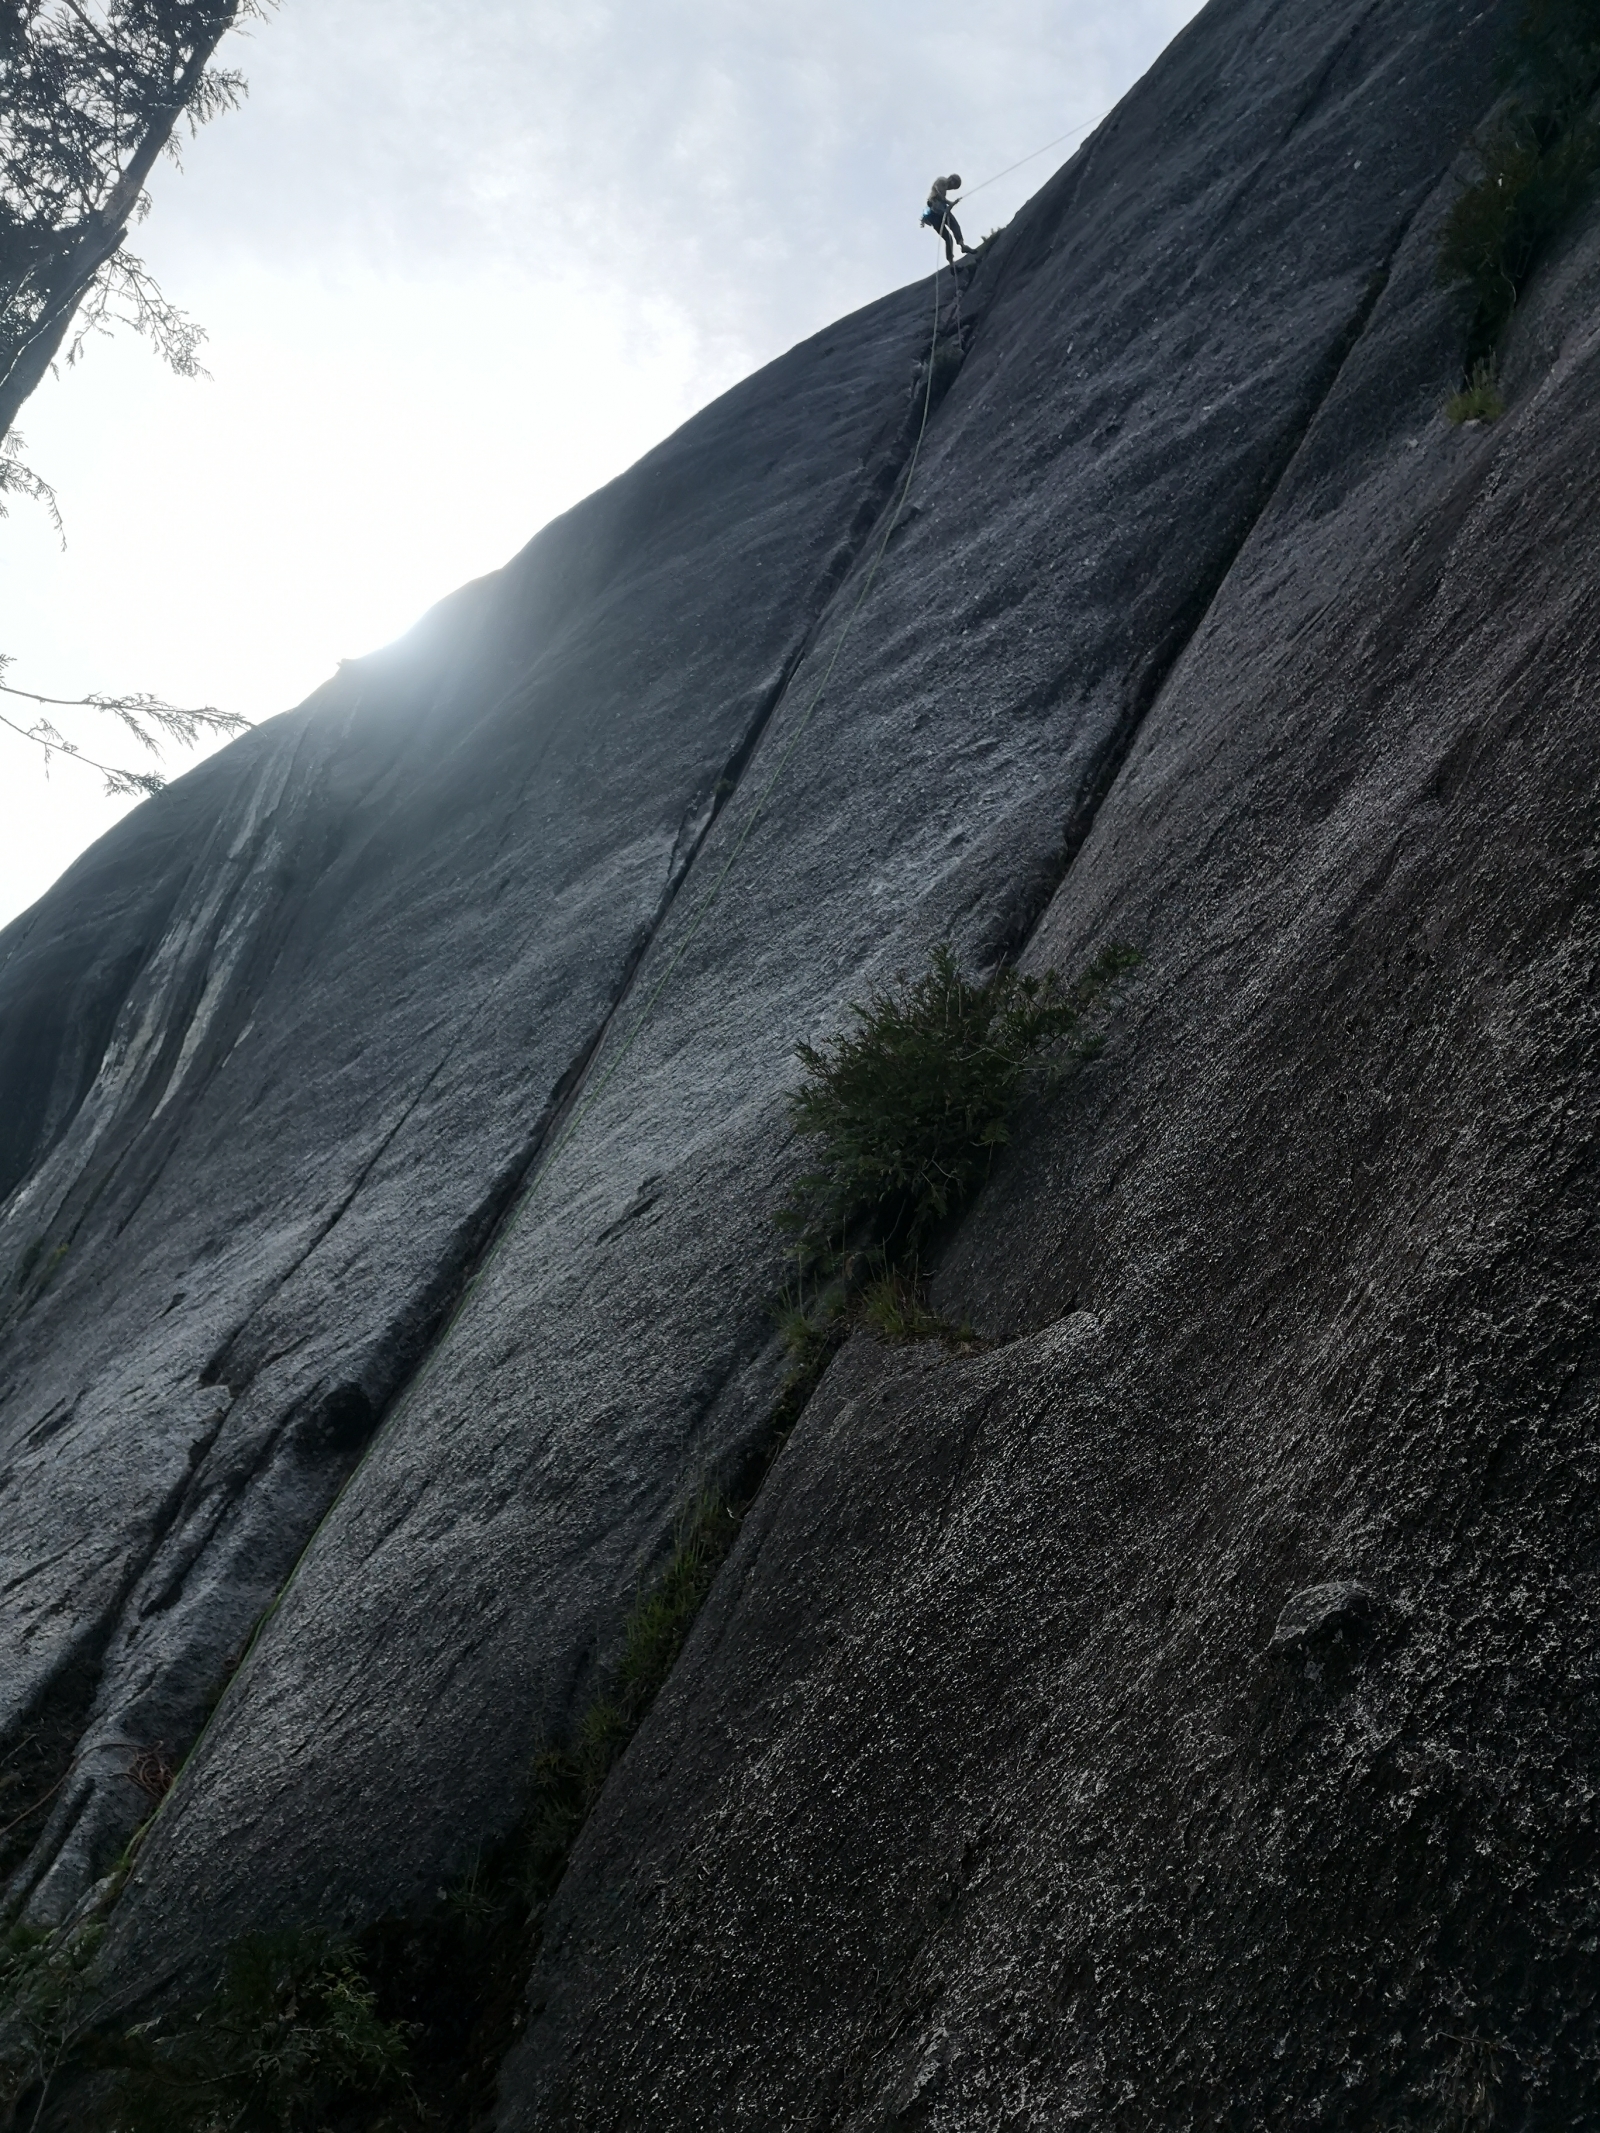
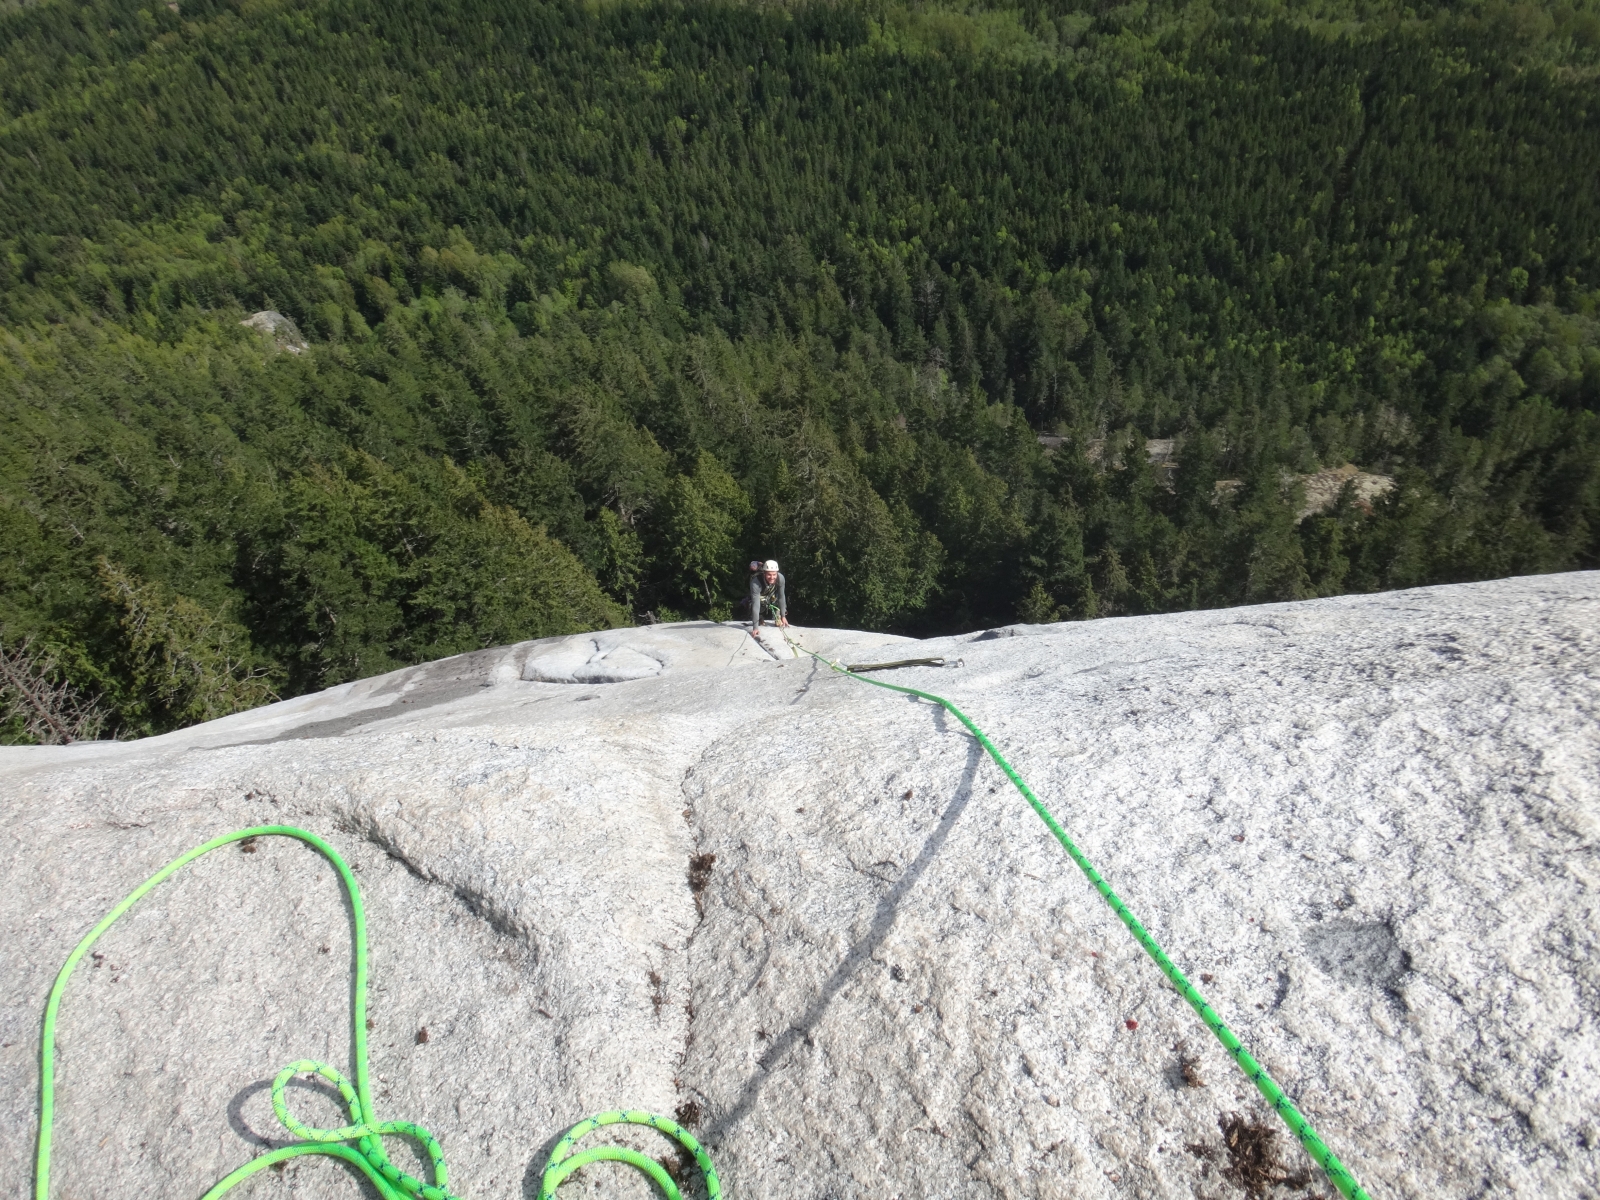
A grand adventure up the 600m Chilcotin Wall, sustained 5.10 climbing with a 5.11- crux pitch. All belays have bolted rap rings. 60m ropes will get you down, but 70m recommended for leading. 12 long pitches, almost all with some challenging sections. Runout on some easier sections. Bring full rack to 3" including small wires, with doubles or triples of small cams (Esp. Metolious #1 and #0). Devon Girard, Grant McCartney - 2018.

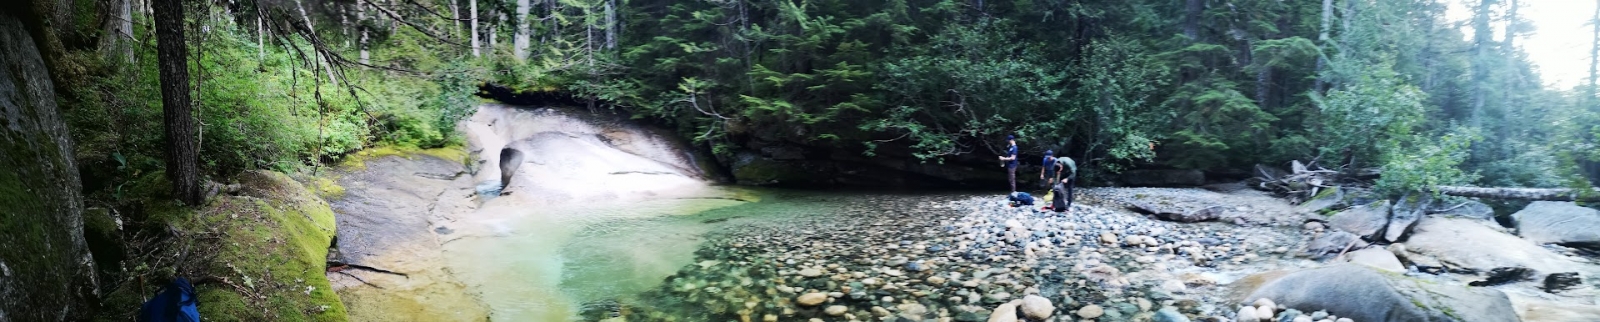
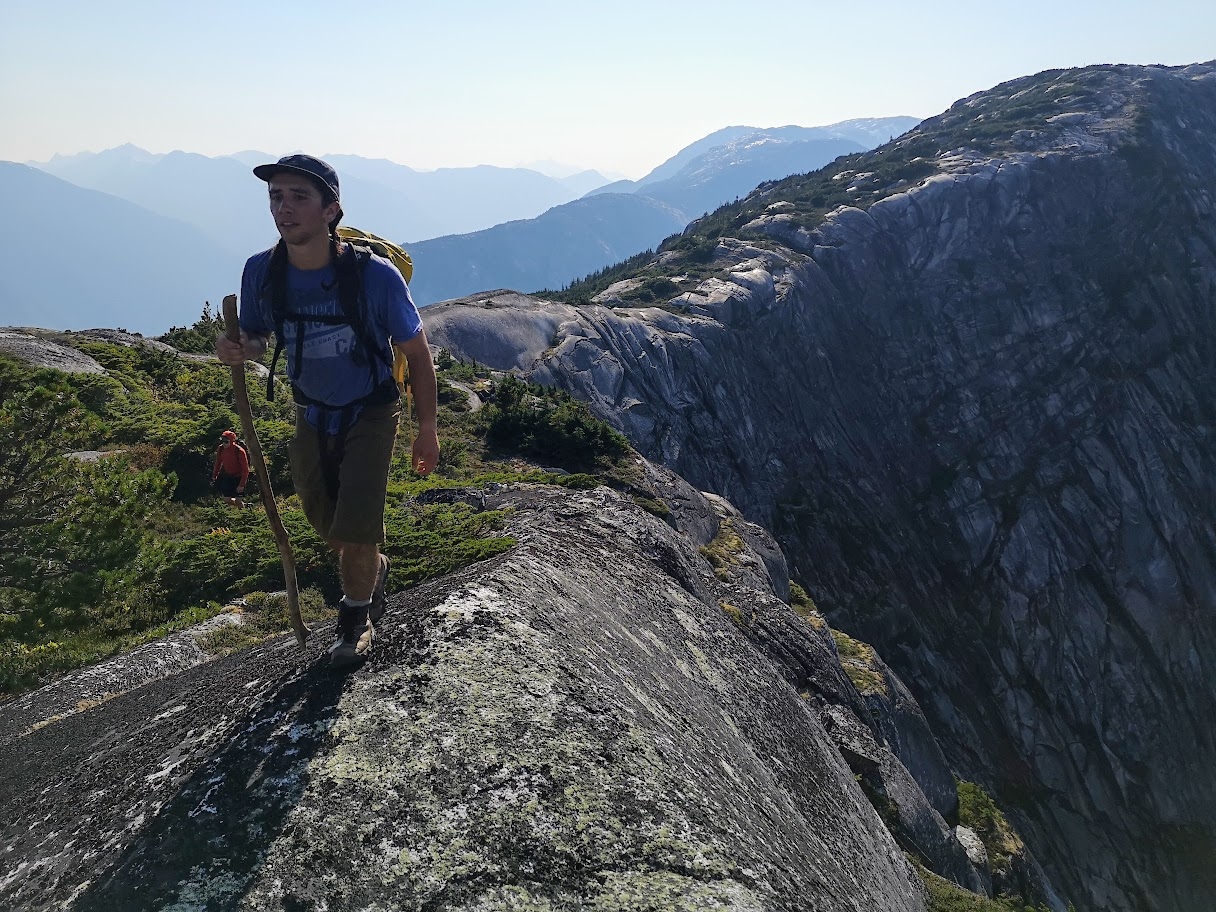
Approach: Follow Saloompt Bluffs trail for about 45 minutes (approx 15 min past the lower-bluffs trail junction), then follow a flagged line directly upwards through steep timber to the base of the large wall.

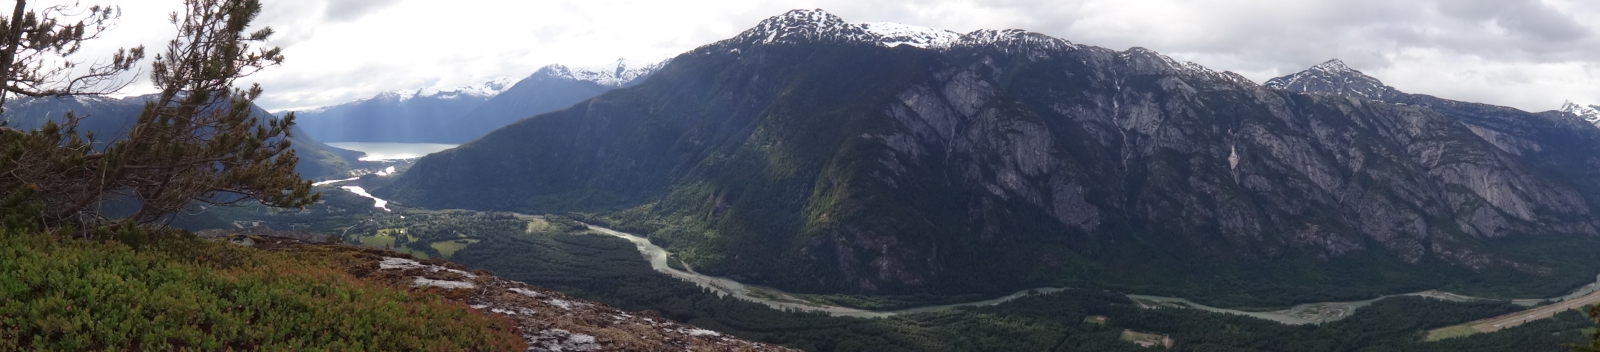
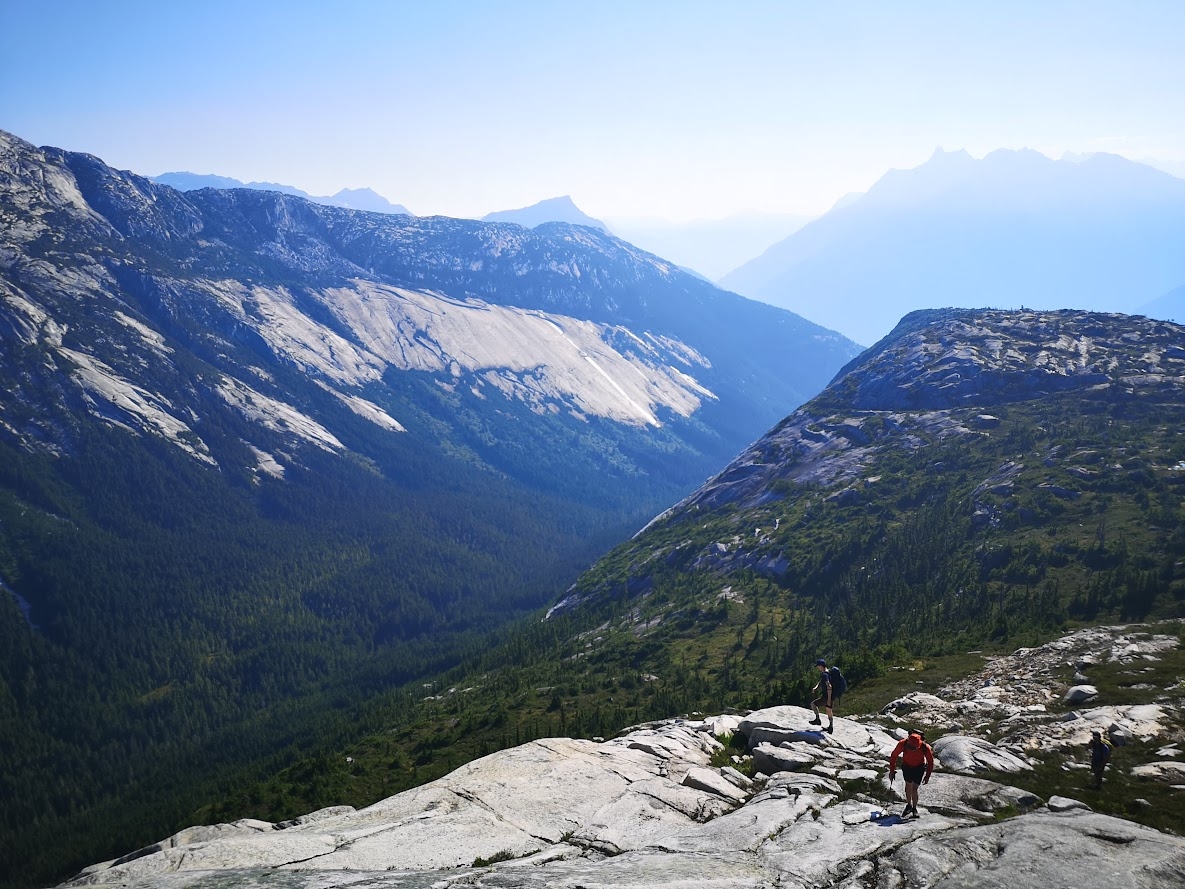
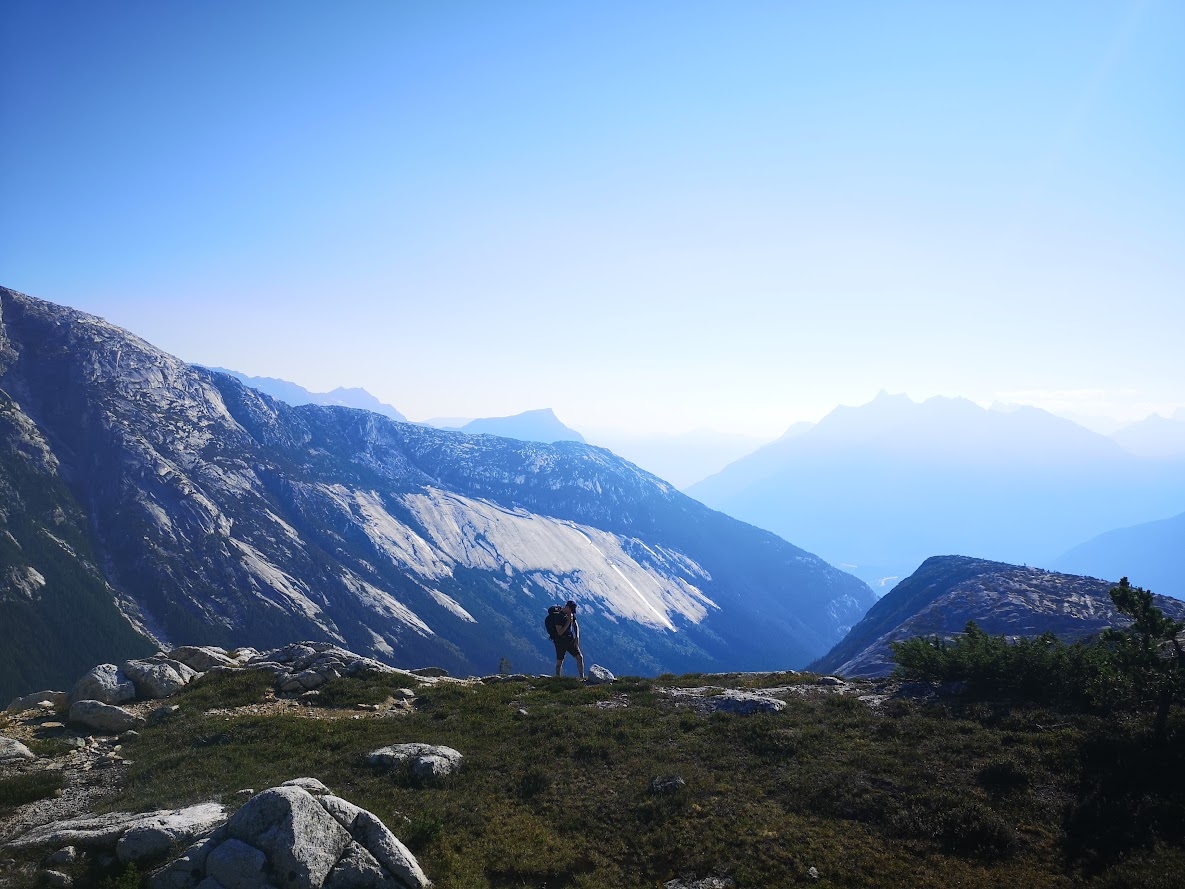
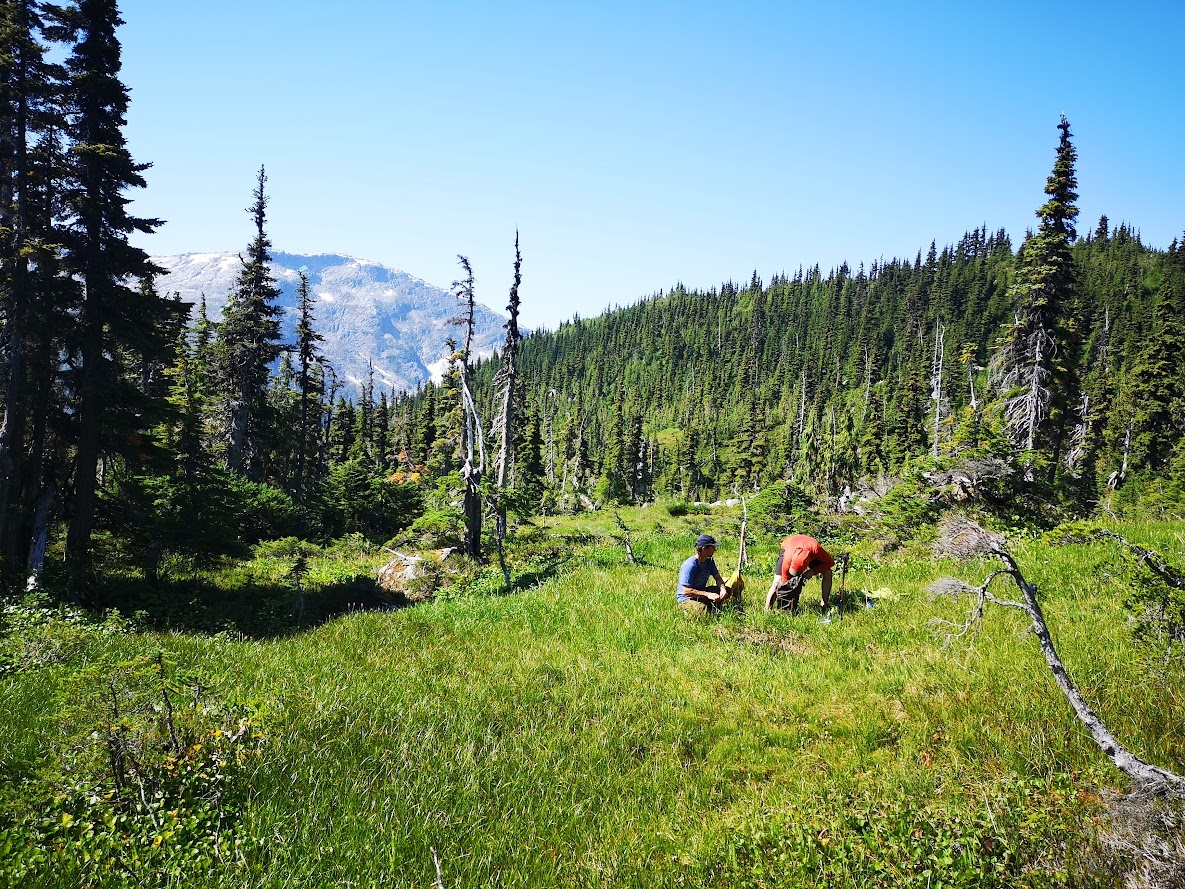
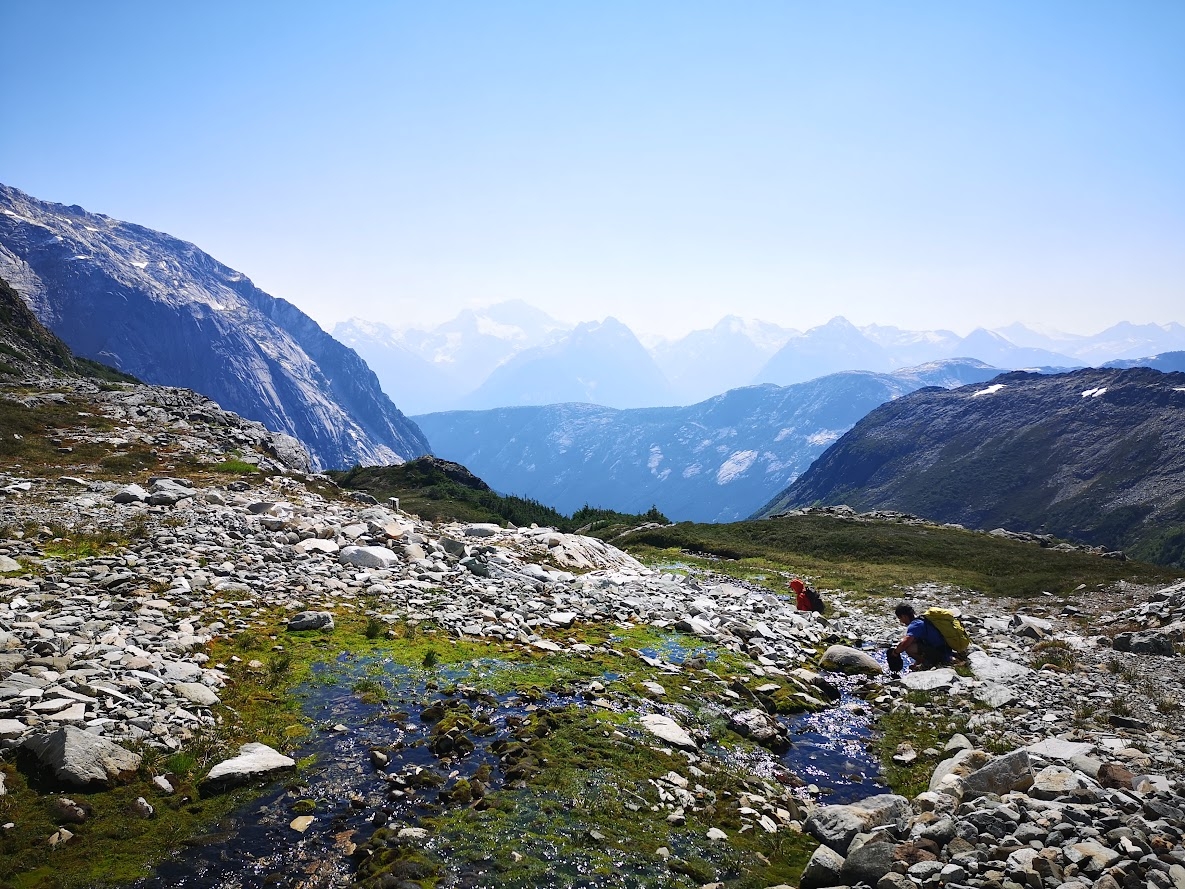
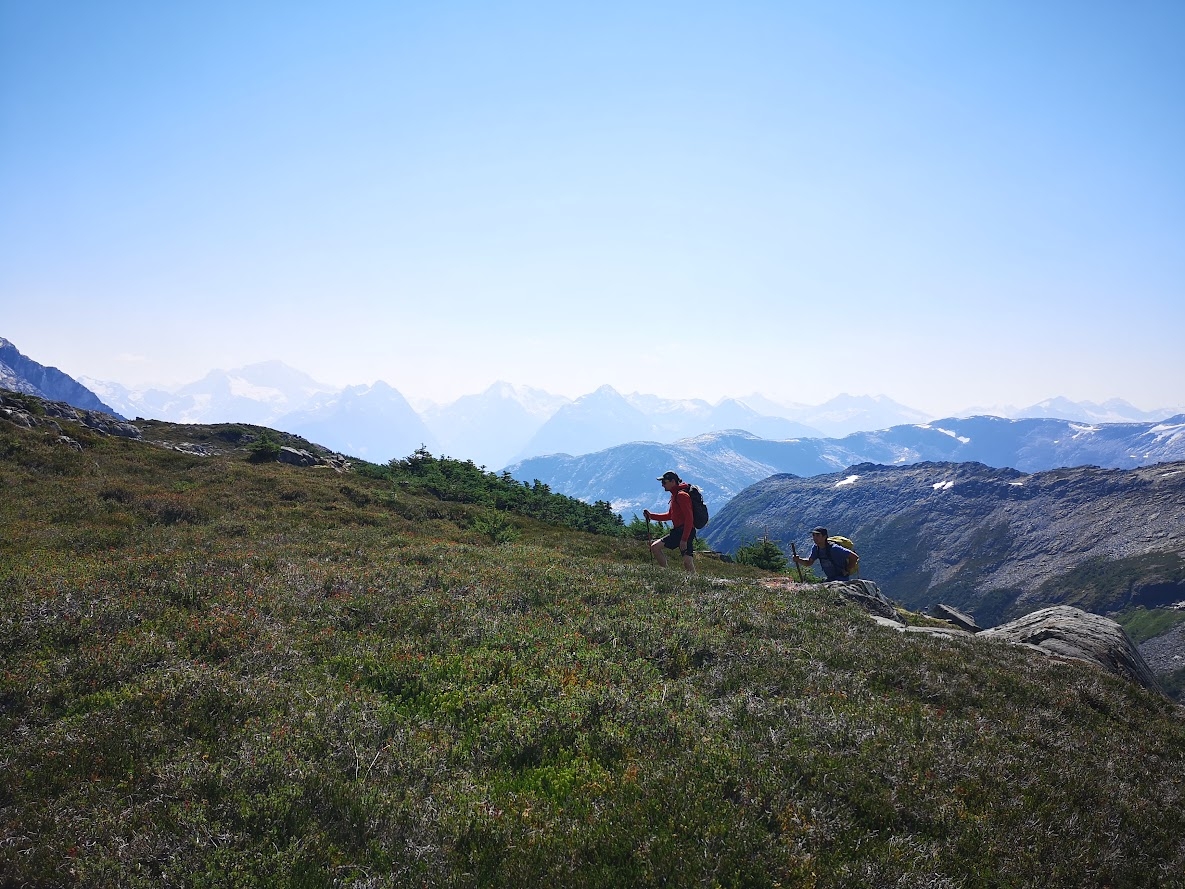
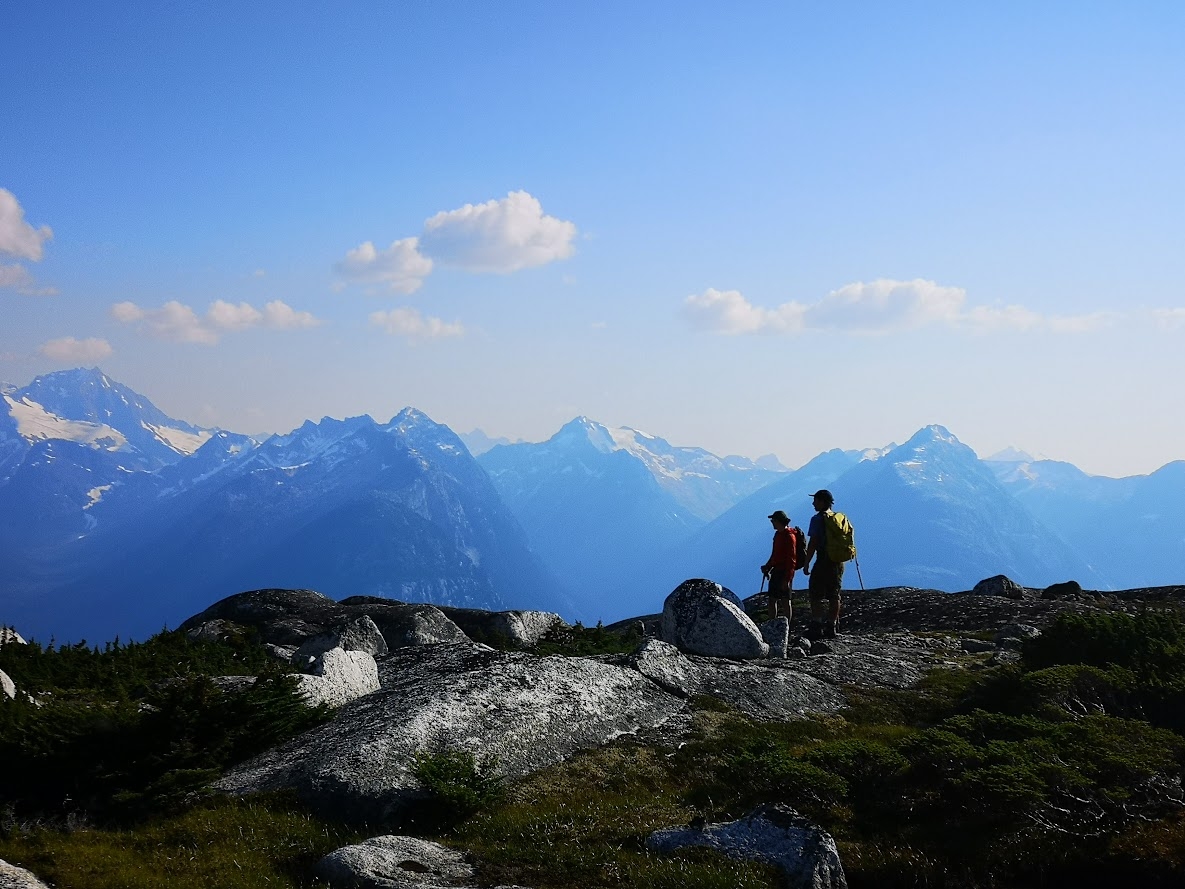
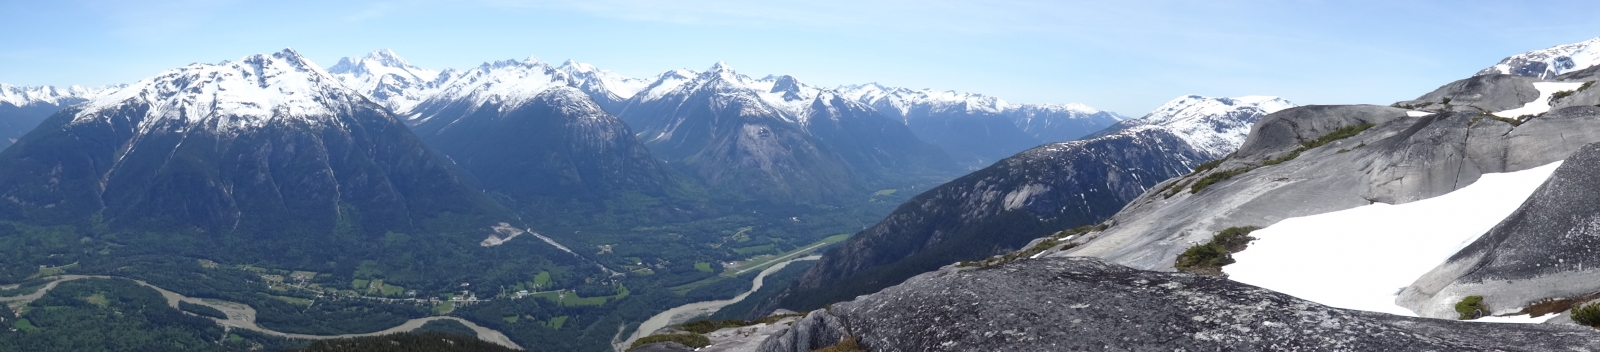
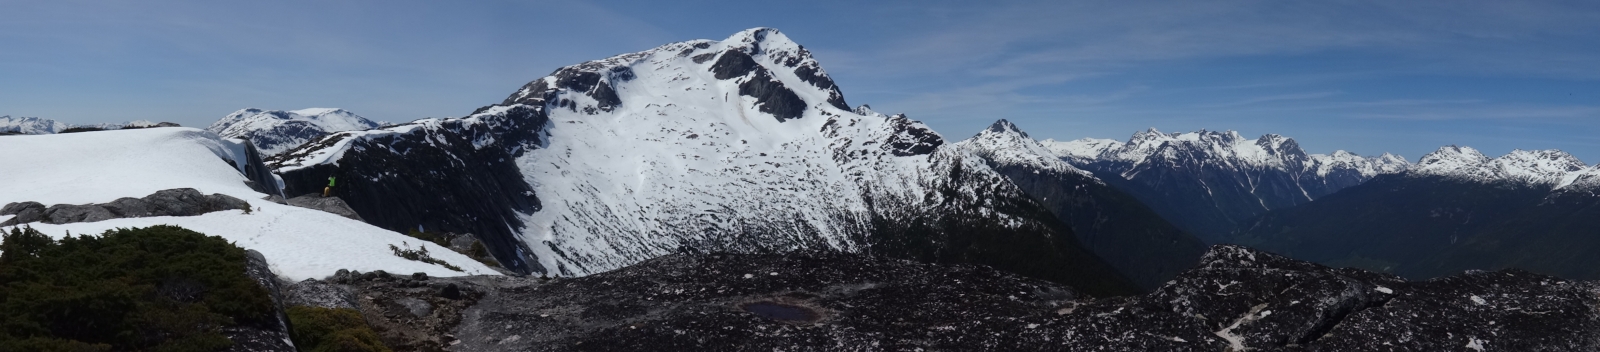
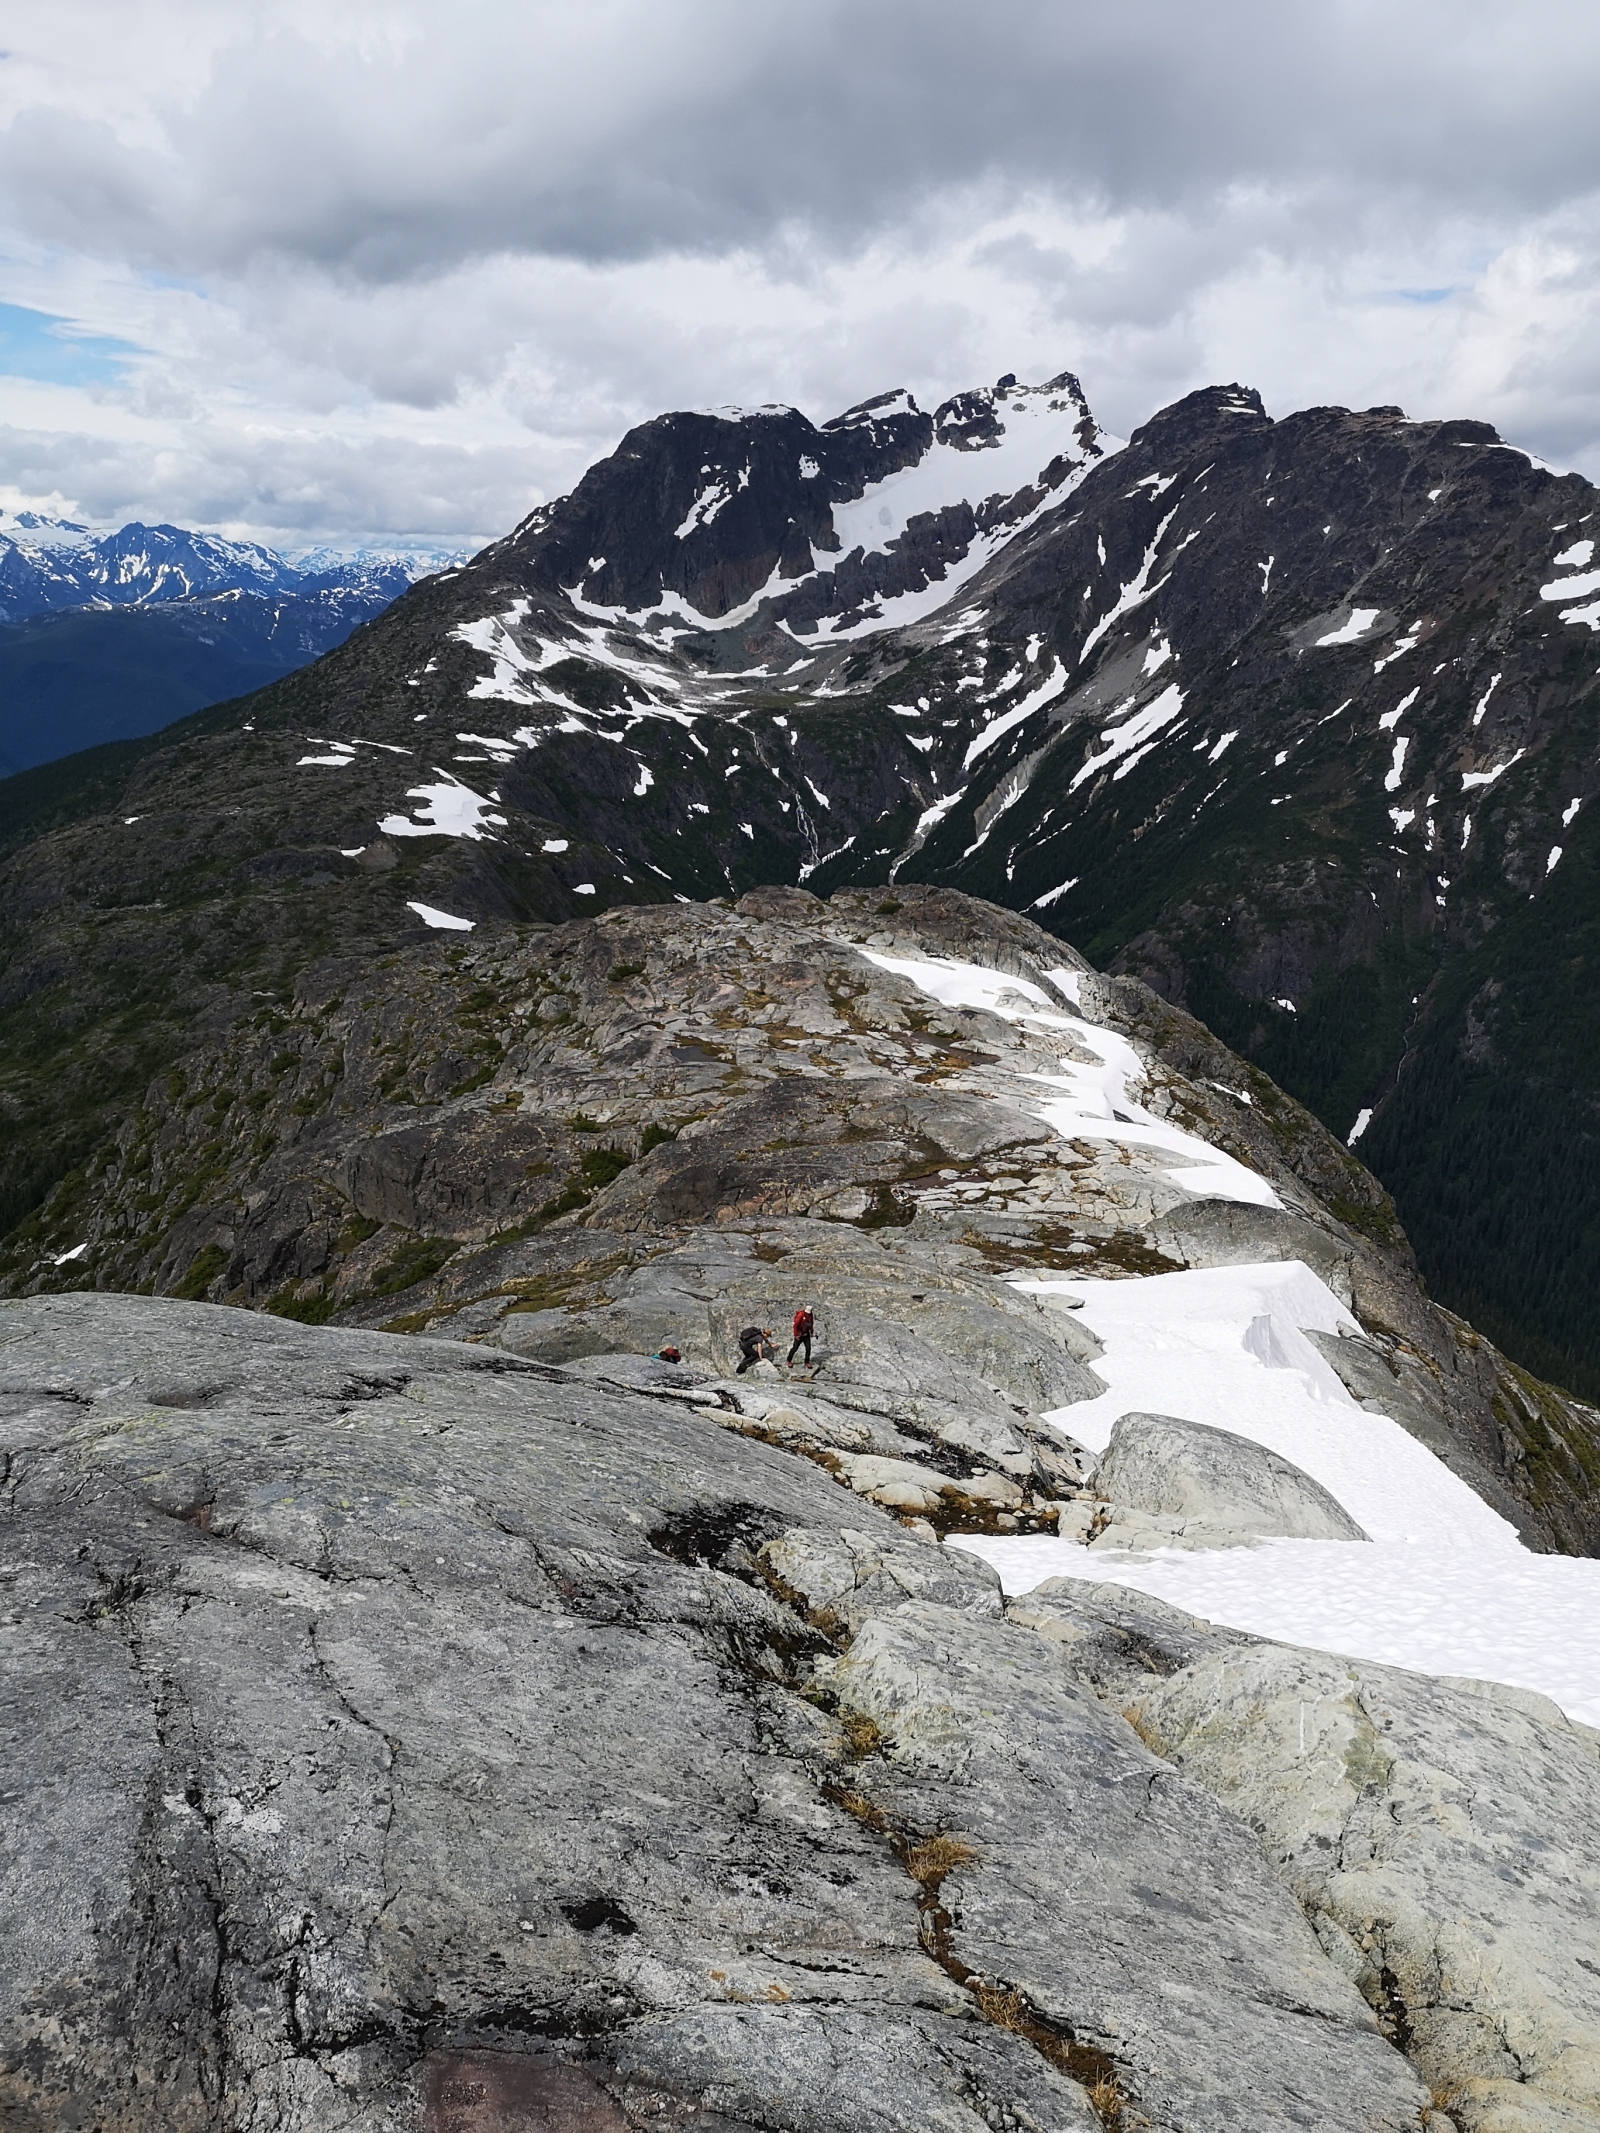
Descent: Continue through alpine terrain to gain the ridge, then descend the Goat Ridge trail to rejoin the Saloompt Bluffs trail. Or, rap the route.

Pitch 1 - A hard start past a single bolt gains a short thin seam; hard climbing past tiny gear for a few moves leads to easier cracks and a friendly slab, gain a small belay ledge. 5.10+.
Pitch 2 - Climb right from the belay past a single bolt, then up through zig-zagging cracks with sections of face climbing, as you finally trend right onto the main wall of the 'Teapot' feature, to a belay below a long thin crack splitting the face. Be mindful of rope drag; a long and interesting pitch. 5.10
Pitch 3 - Face climb past bolts to gain the partially bolted thin seam. Climb the shallow crack to a crux overlap, then up the remarkable flared groove through easing difficulties to the spacious Teapot ledge. A bit runout at the top. 5.10+
Pitch 4 - Start a few meters right of the belay, and traverse left to face climbing past bolts into a shallow corner above. Continue up left past a bolt, then right through disconnected cracks to a small belay ledge. A long pitch. 5.10
Pitch 5 - Climb up edges past a bolt to hand cracks. Gain the large face via a narrow pillar; face climb past more bolts to the belay on top of a large flake. 5.10-
Pitch 6 - A delicate friction traverse leads to harder face climbing past many bolts. 5.10+
Pitch 7 - Climb the long arching corner crack to an undercling traverse, then up right to a belay stance. Keep an eye out for small gear placements in the lower section. 5.9
Pitch 8 - Face climb past several bolts, gaining a shallow corner at the base of the huge arch that leads to the black roof. Keep an eye out for small gear placements at the base of the corner. 5.10
Pitch 9 - Climb the easy but runout corner, gaining easier ground and gear, then traversing left under the looming black roof. Watch for small gear placements under the roof, underclinging or descending lower onto the slab ramp below as necessary. Turn the corner of the roof and follow steep flakes past a bolt to a steep pocketed corner. Be mindful of ropedrag around the corner. A long and dramatic pitch requiring many small cams. 5.11
Pitch 10 - Climb the long corner to a belay stance below a short headwall. 5.9
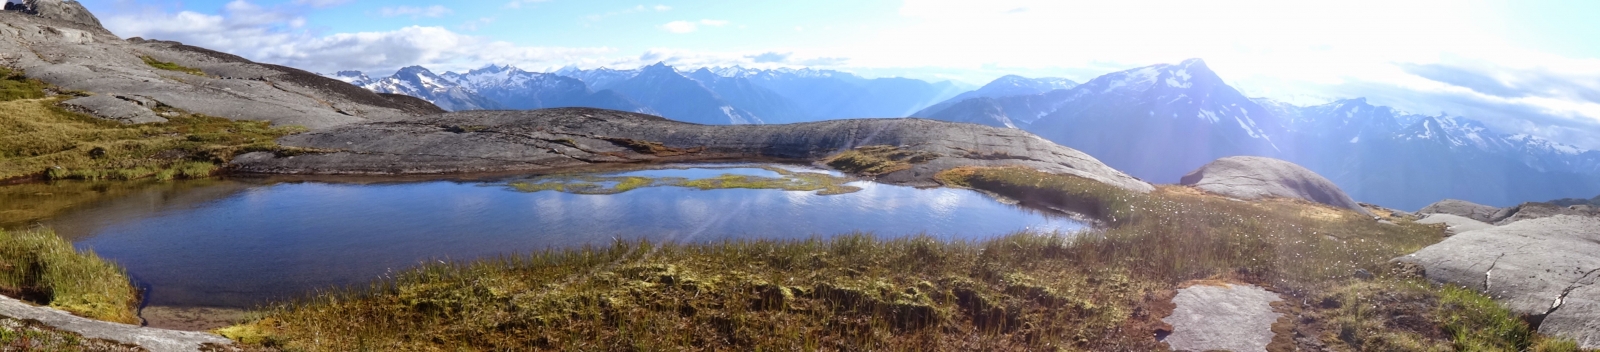
Pitch 11 - Climb the headwall past one bolt to a small pond; circle to the right of the pond to a slab ramp past 2 more bolts to a left-trending seam and belay. 5.10
Pitch 12 - Climb past several bolts to an overlap and gear; continue up the face past another bolt to the base of water-worn crack features. Climb the grooves past some gear and a bolt; overcome a bulge to easier cracks. Traverse right on a hanging slab, to the final (overhanging!) exit cracks and final belay. Be mindful of ropedrag. 5.10

Goat Ridge via Saloompt Bluffs

Gain the striking alpine ridge leading to Goat Peak via Saloompt Bluffs.

Follow the fairly well established upper Saloompt Bluffs trail to the main lookout; continue west briefly then north and up past orange flagging through several tree terraces, into a distinct pinch point in a steep timbered slot; move upwards to easier ground and open granite slabs. Follow flagging up several slabs and timber ribbons to a small watercourse; follow the water to the base of more slabs and clear views of the alpine. Gain a blunt buttress feature and move upwards along the general prow of it, traversing off to the left or right as needed. After gaining the top of this granite slab/prow feature, alpine meadow strips open to your left below clean granite walls. Continue up through open ground, meadows giving way to rock slabs, to a final treed gully to the right of the attractive and massive summit block.

Goat ridge opens to the north-west.

Note - above 1000m there are several long granite slab sections that are easy to walk on in dry conditions, however parallel vegetated gullies offer an alternative in poor/wet conditions. The general route is the same.

Redneck Raven

Goat Peak (Winter route)

Starting up the Saloompt Bluffs trail, continue north up the blunt ridge, through mixed slabs and tree islands until gaining the alpine.

Some short steep sections at beginning give way to gentle slopes.

Saloompt Peak

Elegant natural line up a timbered West rib of the Saloompt massif, gaining the alpine ridge just before the summit ridge steeply rises up to the south.

Park where space allows by the junction at the top of the Lost Lake road hill; follow the right fork (towards Lost Lake) on foot for about 500m to an overgrown logging road on the left; push through the alder-overwhelmed road for another few hundred meters to a small scree slope; avoid this to the left, enter the old-growth timber and follow a flagged route up through mossy douglas fir, hemlock and cedar forest. Gain a broad bench after several hundred vertical meters, with large talus fields coming into view above. Avoid the talus fields to the left, following steep game trails to easier ground. Continue through open forest up a gentle hogs-back feature all the way to the subalpine. Pick your way through the scrub forest until breaking through into open heather strips. Follow the open meadows left towards a small boulder field, then up and right to the base of a scree slope. Edge around the right side of the scree slope, overcome a small thicket of stunted balsam firs, to gain the final rock and moss rib leading up to the saddle of the main ridge, and views to the east.

For Saloompt peak, head south up green gullies splitting the steep granite slab for about 100 vertical meters, to easier ground and a gorgeous swimming hole. Continue south along the easy granite summit ridge, enjoying tremendous views and many points of interest.

For Hagens peak and related objectives, head north along the friendly ridge, past several small tarns, a beautiful large flat 'delta' area riddled with flowers, creeks and aquamarine stones.

Subscribe to RSS - saloompt